During my first week in Spain I went on a mini vacation to Valencia, and I had a great time. Not being in the spirit of letting my
blog sit idle while I’m away, I want to share some of my experiences abroad
here, and try to keep at least a little bit of fiber arts content as well. The
day after I arrived in Spain I went to Valencia for 5 days. While I was there I
went to the beach a couple times, visited some museums, and got lost. A lot.
Thankfully one of our hosts gave us a map on our third day, so we didn’t have
much of that after that. The first of the museums I visited was a museum of
ceramics. Before Chinese ceramics became big around the world, Valencia was
well-known for its high-quality porcelain in the 1700s. That wasn’t too
terribly interesting I have to admit. The stuff was beautiful, but it was all
more or less the same stuff over and over again. But the next museum… whoaaa
that was a cool one. It was the Valencian Ethnology Museum, and it showcased
the history of the region of Valencia from the 1900s all the way back to the
earliest evidence of humans in the area tens of thousands of years ago. The
modern stuff didn’t interest me too much, but the prehistoric stuff was
awesome. But I will mention that Spain was quite behind the US in terms of
development in the middle of the 1900s. From pictures in the museum, I saw that
most farm houses still has grass roofs in the 50s, and mud shingles in the 60s.
Anyways, back to the cool stuff. It showcased hundreds of old stone tools,
ranging from arrowheads, to knives, to stone carving tools. As you progressed
through the museum it got closer to modern day as it went, and it was really
cool being able to see how peoples’ tools progressed from bone to stone to
copper, to bronze, to iron, etc. It also has fragments of cave carvings and
cave drawings. So here are some pictures showing all of that good stuff.
One of my favorite displays was something so small it would
have been really easy to overlook, and I almost didn’t read the description
under it, but I’m glad I did. Any ideas about what it could be?

A ceramic supported spindle whorl!

A ceramic supported spindle whorl!
I was totally blown away that they had a whorl from the 3rd
century BC on display there, and had an accurate description of it. I might start making replicas of it when I get
back to the US! The caption reads: "This whorl, situated at the bottom of the spindle shaft facilitated the twisting of fibers during spinning. Somebody carved two figures into it. Its owner?"
Here are some other cool exhibits from the museum

A cave painting that was kept in an almost pitch black room to protect the paint from light degradation. I used a long exposure with a wide aperture and high ISO to capture the photo, not wanting to expose the artwork to the flash of my camera.

A collection of small tools used to etch stone, which can be seen in the following photograph.


Who knew people made stone scythes?

Assorted flint knives

Now that's a dovetail...

Swords, with some Romanesque pottery

A stone axe head mold
Now I know I said the modern stuff didn't interest me too much, but there was one exhibit that caught my attention...
And the craziest thing we did was attend the annual Tomatina. The biggest tomato fight in the world, held in a nearby town called Buñol. Pure. Chaos. But it was so awesome at the same time. Imagine a narrow European street, with at least 30,000 people crammed into it, with over 300,000 pounds of tomatoes. That’s not a typo or an exaggeration, literally three hundred thousand pounds of tomatoes. There were 6 trucks that drove through the street with people throwing the tomatoes out, and every time a truck came by, the herders as I’m going to call them had to push everybody to the side of the street so there would be enough space for the trucks, and they pushed really hard to get everyone out of the way. And once the trucks went away there were tomatoes flying everyyyywhere possible. By the time the sixth truck came through, there was a good 6 inches of tomato juice sitting in the street, and some people, including myself, found cups or other containers to scoop up the tomato puree to fling in every direction possible. That madness lasted for an hour before we went on to try and find a place to get hosed off.
This post is a couple of months overdue, so hopefully I'll be able to catch up with the rest of them soon!
Here are some other cool exhibits from the museum

A cave painting that was kept in an almost pitch black room to protect the paint from light degradation. I used a long exposure with a wide aperture and high ISO to capture the photo, not wanting to expose the artwork to the flash of my camera.

A collection of small tools used to etch stone, which can be seen in the following photograph.

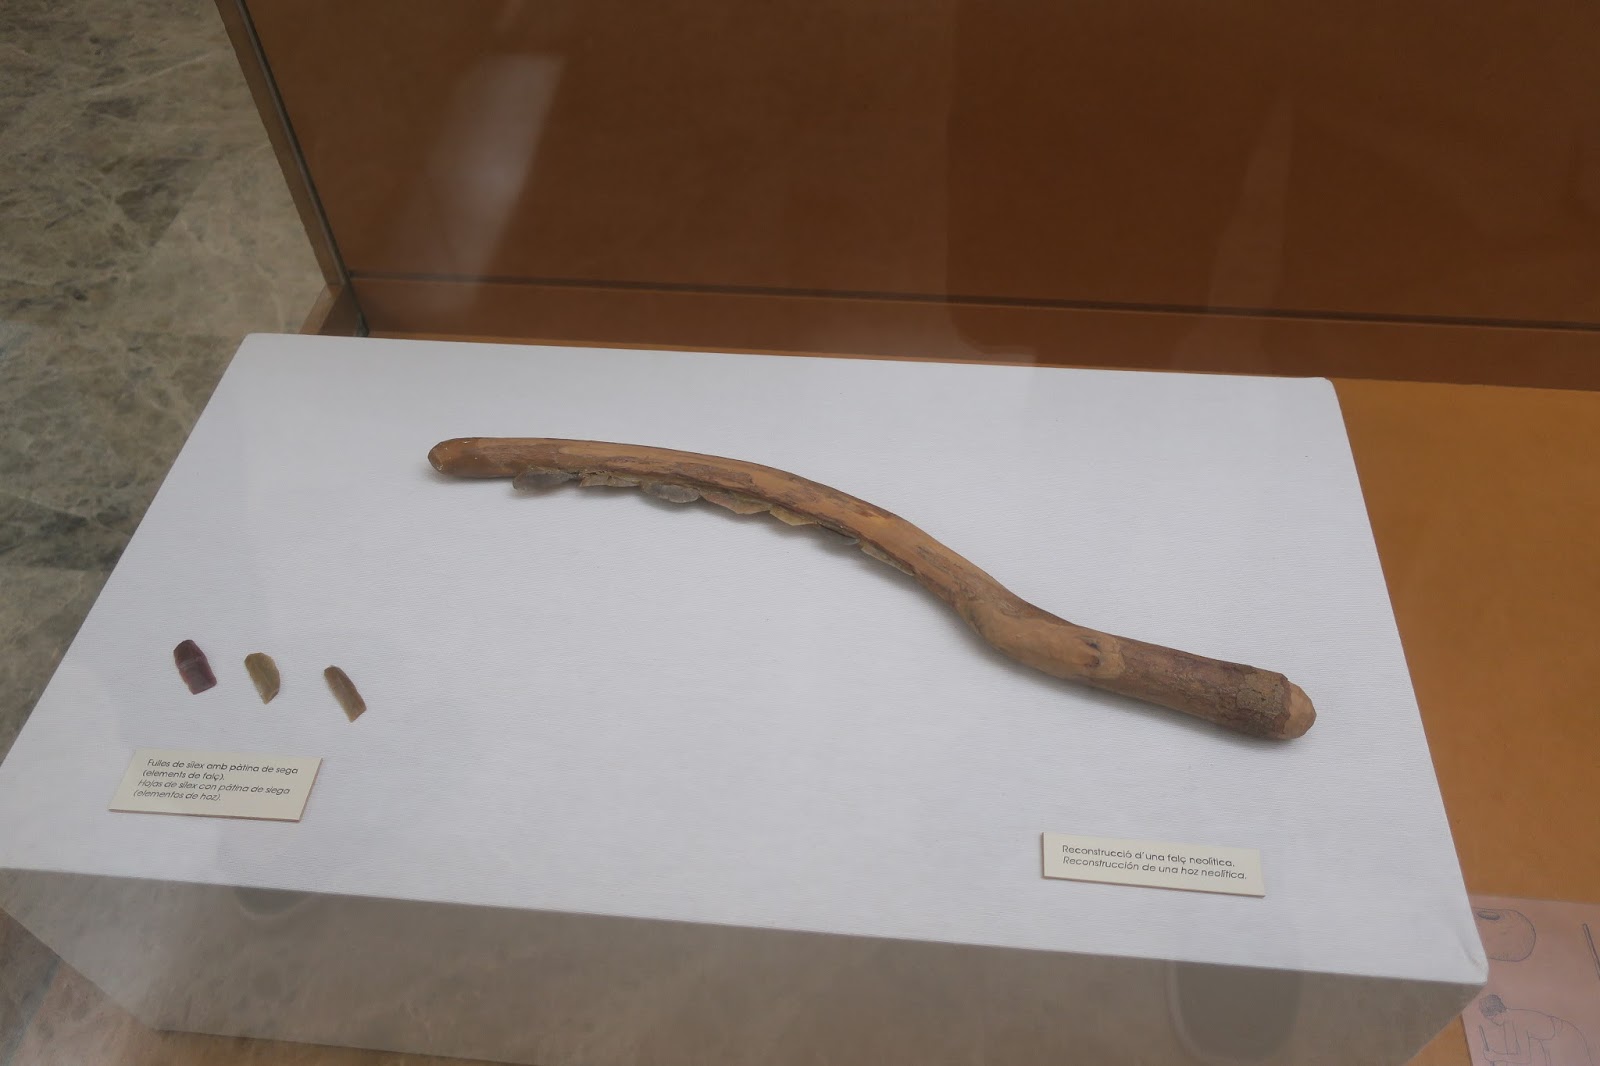
Who knew people made stone scythes?

Assorted flint knives

Now that's a dovetail...

Swords, with some Romanesque pottery

A stone axe head mold
Now I know I said the modern stuff didn't interest me too much, but there was one exhibit that caught my attention...
 |
| A little blurry, but I think you can all identify it :) |
 |
| Quite a large loom |
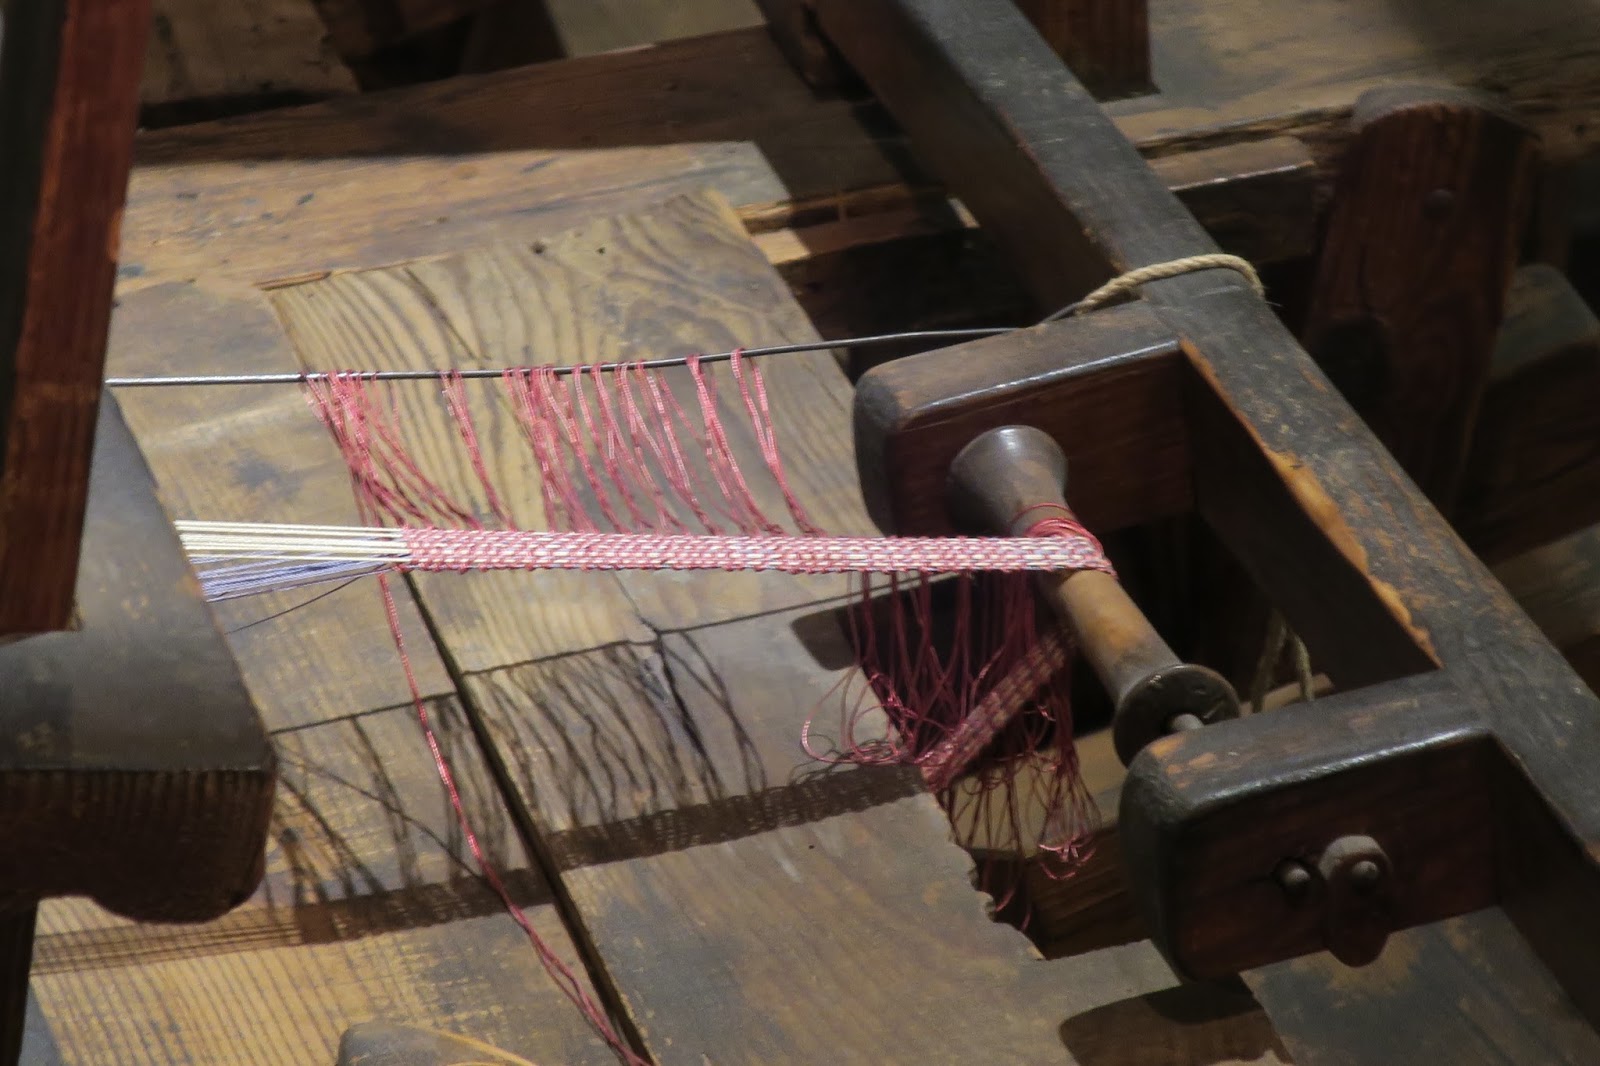 |
| A zoom of the band that's woven on the loom. Although that wire off to the right of the work looks pretty out of place... |
Another really awesome place we visited was the Botanical
Gardens of the University of Valencia. I can’t begin to describe all of the
cool plants (and cats) that were there, it was super pretty.
And the craziest thing we did was attend the annual Tomatina. The biggest tomato fight in the world, held in a nearby town called Buñol. Pure. Chaos. But it was so awesome at the same time. Imagine a narrow European street, with at least 30,000 people crammed into it, with over 300,000 pounds of tomatoes. That’s not a typo or an exaggeration, literally three hundred thousand pounds of tomatoes. There were 6 trucks that drove through the street with people throwing the tomatoes out, and every time a truck came by, the herders as I’m going to call them had to push everybody to the side of the street so there would be enough space for the trucks, and they pushed really hard to get everyone out of the way. And once the trucks went away there were tomatoes flying everyyyywhere possible. By the time the sixth truck came through, there was a good 6 inches of tomato juice sitting in the street, and some people, including myself, found cups or other containers to scoop up the tomato puree to fling in every direction possible. That madness lasted for an hour before we went on to try and find a place to get hosed off.
This post is a couple of months overdue, so hopefully I'll be able to catch up with the rest of them soon!


